How To Grow Your Own Hydrangeas With Just A Glass Of Water
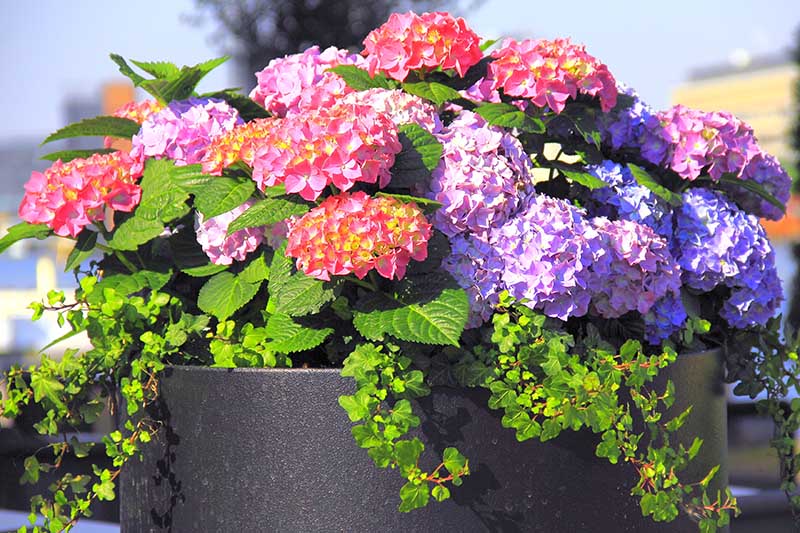
Hydrangeas are beautiful flowering shrubs that can add a touch of elegance to any garden. But did you know that you can grow your own hydrangeas from just a glass of water?
It's true! Water propagation is a simple and effective way to grow new hydrangea plants. And best of all, it's a great way to propagate hydrangeas that you already have in your garden.
In this blog post, I'll show you how to grow your own hydrangeas with just a glass of water. I'll also provide some tips for success.
Step 1: Gather your supplies
The first thing you'll need is a glass of water. You can use any type of glass, but a clear glass is best so you can see the roots developing.
You'll also need a sharp knife or scissors to cut the hydrangea cuttings. And if you want to use rooting hormone, you can pick some up at your local garden center.
Step 2: Choose your cuttings
The next step is to choose your cuttings. Look for healthy stems that are about 4 inches long. The stem should have at least two or three nodes, which are the small bumps where the leaves are attached.
Make your cut just below a node. Be sure to use a sharp knife or scissors so you don't crush the stem.
Step 3: Remove the leaves
Once you've cut your cuttings, remove the bottom two or three leaves. This will help the cuttings focus on rooting instead of photosynthesis.
Step 4: Place the cuttings in water
Fill your glass with water and place the cuttings in the water. Make sure that the nodes are submerged in the water, but the leaves are not.
Step 5: Add rooting hormone (optional)
If you want to use rooting hormone, you can dip the cut end of each cutting in the hormone before placing it in the water. Rooting hormone will help the cuttings root faster.
Step 6: Put the glass in a bright spot
Place the glass in a bright spot, but out of direct sunlight. Hydrangeas need bright light to root, but too much direct sunlight can scorch the leaves.
Step 7: Change the water regularly
Change the water in the glass every few days. This will help prevent the water from getting stagnant and help keep the cuttings healthy.
Step 8: Be patient
It can take a few weeks or even months for hydrangea cuttings to root. Be patient and don't give up!
Step 9: Plant the rooted cuttings
Once the cuttings have rooted, you can plant them in soil. Choose a spot in your garden that gets bright, indirect sunlight.
Water the plants regularly and fertilize them every few weeks. With a little care, your new hydrangea plants will thrive!
Conclusion
Growing hydrangeas from water propagation is a simple and rewarding process. With a little patience and care, you can have beautiful hydrangea plants in your garden in no time.
Here are some additional tips for success:
- Use fresh water every time you change the water in the glass.
- Keep the glass in a bright spot, but out of direct sunlight.
- Don't overwater the cuttings.
- Be patient! It can take a few weeks or even months for hydrangea cuttings to root.
With a little effort, you can grow your own hydrangeas from just a glass of water. So what are you waiting for? Get started today!
Hydrangeas are beautiful flowers that can add a touch of elegance to any garden. If you're looking to propagate hydrangeas, water propagation is a simple and effective method.
To propagate hydrangeas in water, you'll need a few things:
- A sharp knife or shears
- A clear glass or jar
- Water
- Rooting hormone (optional)
Once you have your supplies, follow these steps:
- Choose a healthy hydrangea stem that is about 4-6 inches long.
- Make a clean cut just below a node.
- Remove any leaves from the bottom 2-3 inches of the stem.
- Place the stem in the glass or jar of water.
- Add rooting hormone to the water (if desired).
- Place the glass or jar in a bright, indirect light location.
- Change the water every few days.
With a little patience, you should see roots start to form in about 2-4 weeks. Once the roots are about 2 inches long, you can transplant your hydrangeas into soil.
For more detailed instructions on how to propagate hydrangeas in water, please visit .
FAQ of propagating hydrangeas in water
5 Most Frequently Asked Questions About Propagating Hydrangeas in Water
- What is the best time of year to propagate hydrangeas in water?
The best time to propagate hydrangeas in water is in the spring or early summer, when the plant is actively growing. However, you can also propagate hydrangeas in water in the fall or winter, as long as you keep the cuttings in a warm, humid environment.
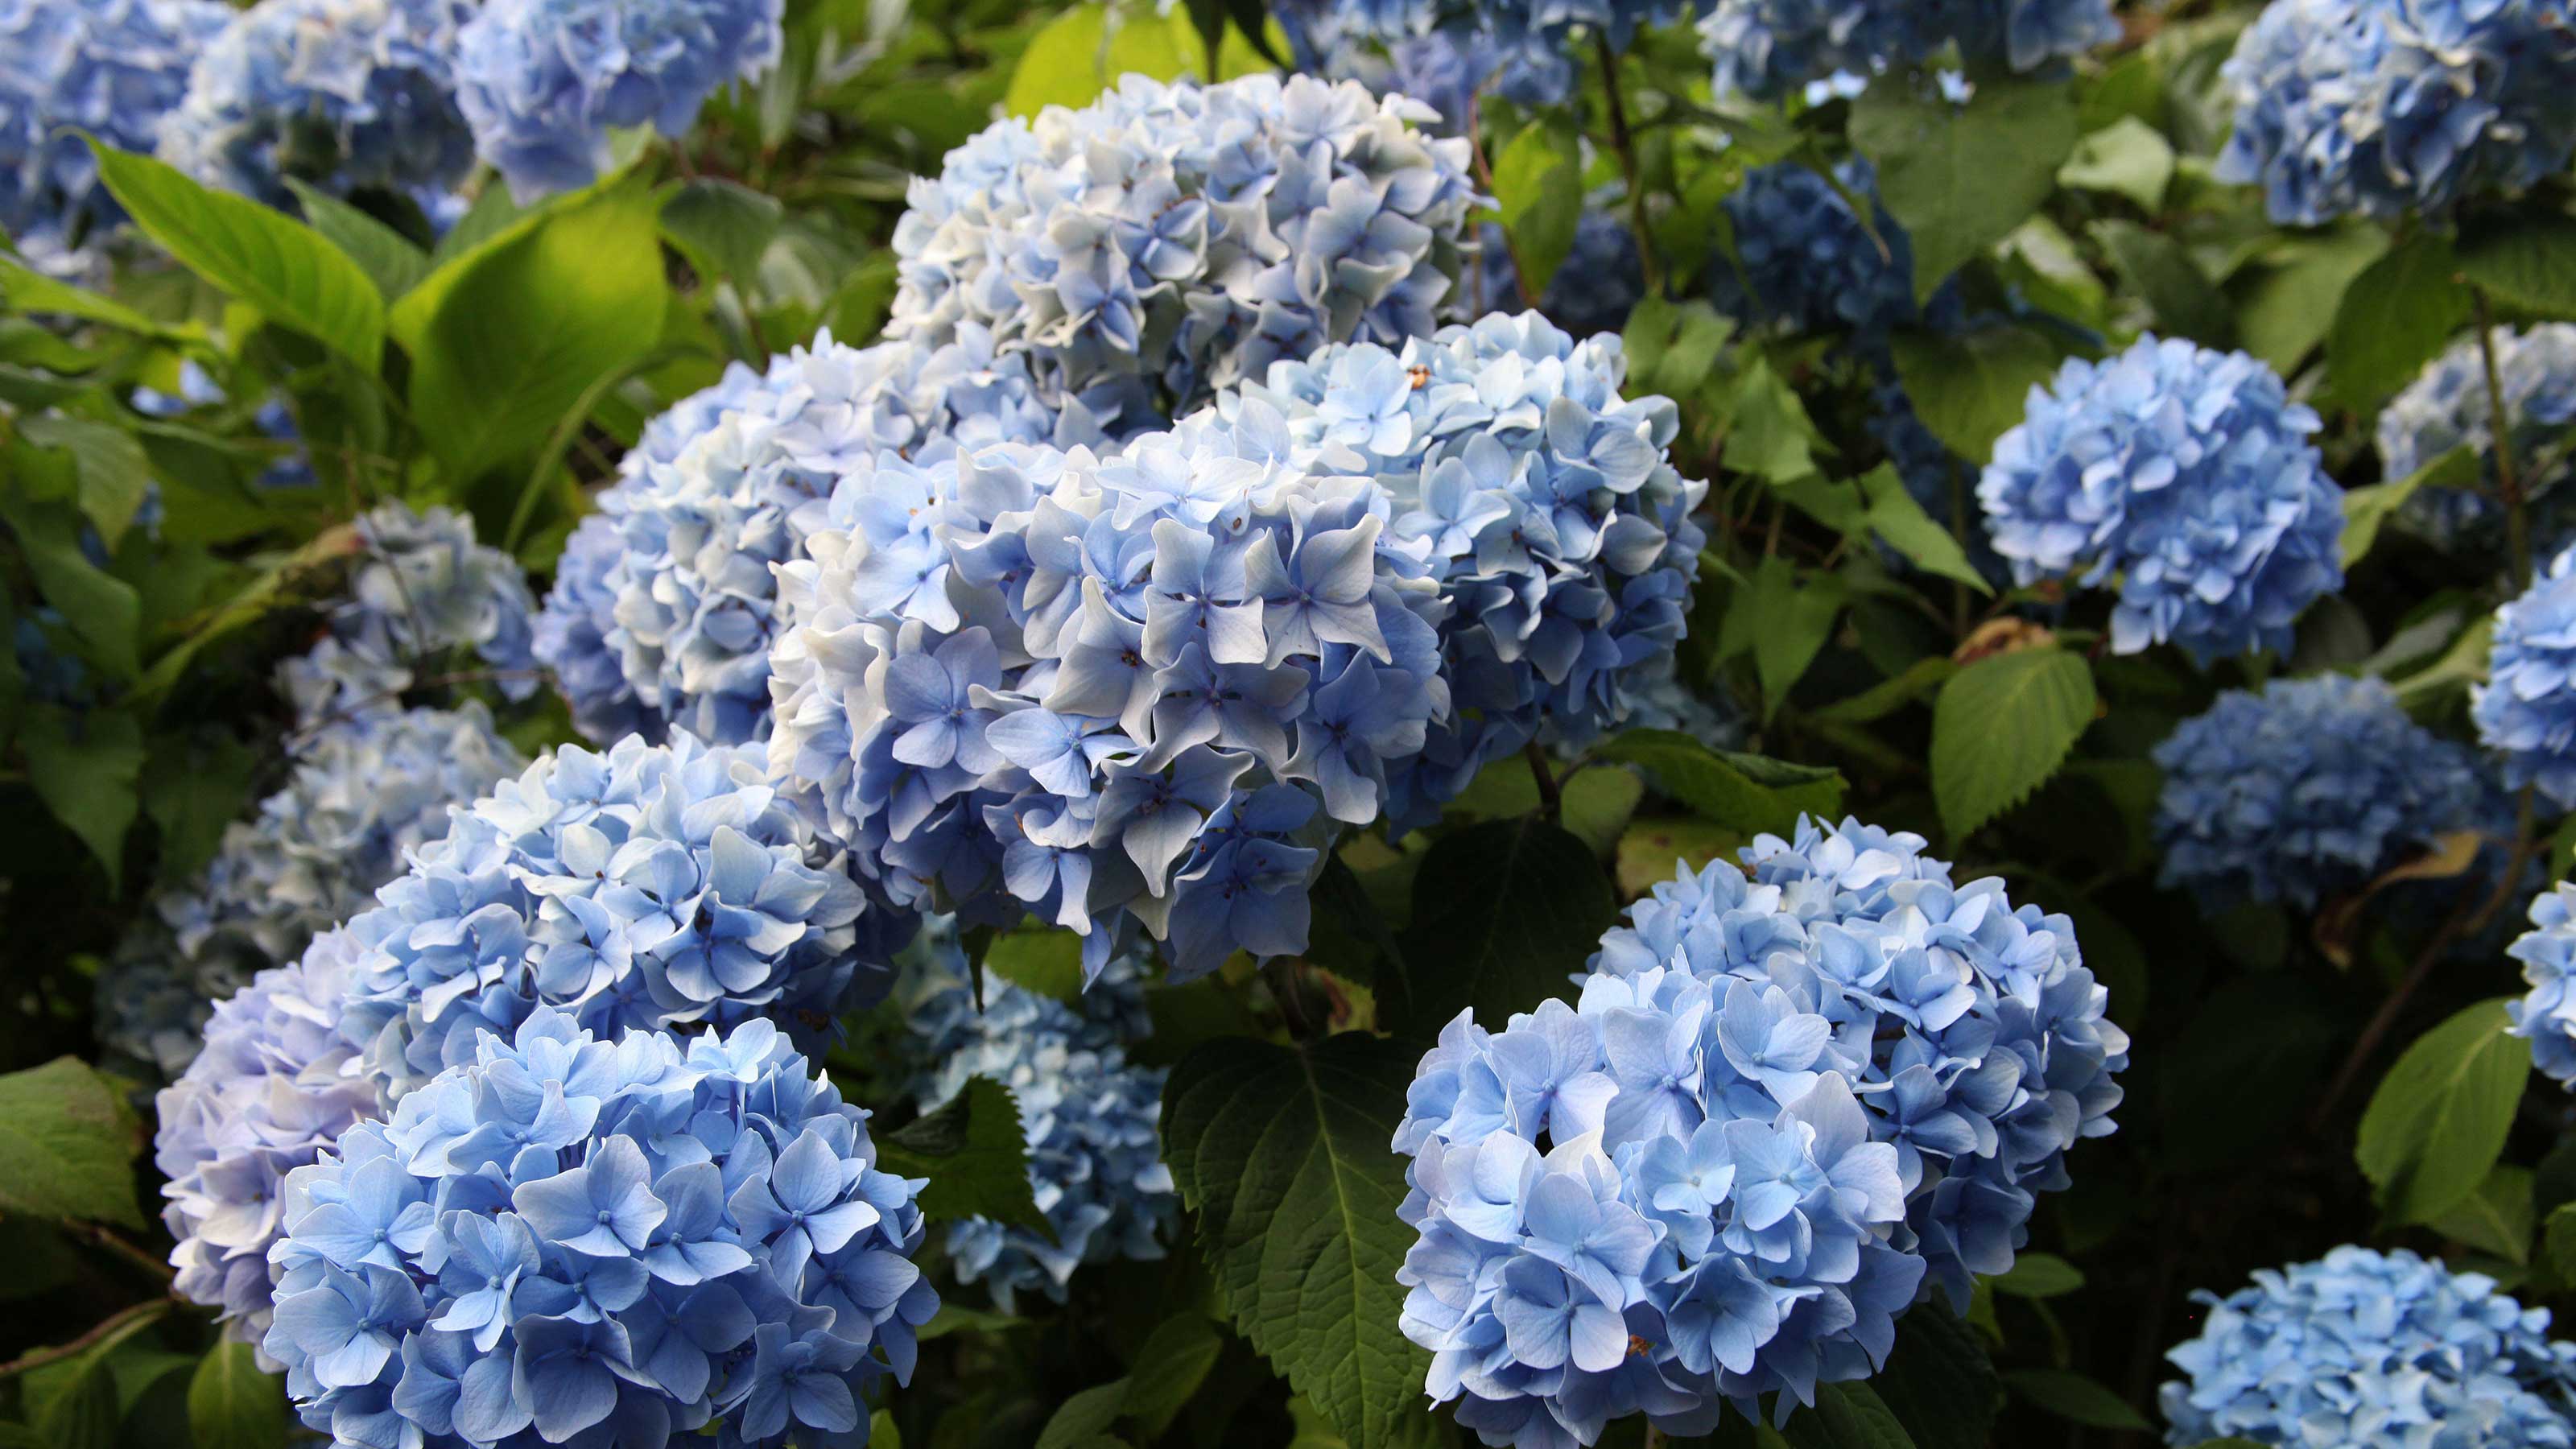
- What type of hydrangeas can be propagated in water?
Most types of hydrangeas can be propagated in water, including bigleaf hydrangeas (Hydrangea macrophylla), mountain hydrangeas (Hydrangea serrata), and oakleaf hydrangeas (Hydrangea quercifolia).
- How long does it take for hydrangeas to root in water?
It usually takes about 2-3 weeks for hydrangeas to root in water. However, some cuttings may root in as little as one week, while others may take up to 6 weeks. The rooting time will depend on a number of factors, including the type of hydrangea, the time of year, and the humidity level.
- What kind of water should I use to propagate hydrangeas in water?
You should use filtered or distilled water to propagate hydrangeas in water. Tap water may contain chemicals that can harm the cuttings.
- How do I care for hydrangea cuttings in water?
The water in the container should be changed every few days. You should also mist the cuttings regularly to keep the humidity level high. The cuttings should be placed in a warm, sunny location.
Image of propagating hydrangeas in water
5 different images of "propagating hydrangeas in water" from Pinterest:
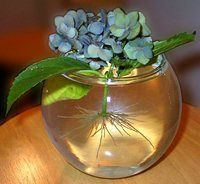
- Image 1: A jar filled with water and hydrangea cuttings. The cuttings are about 4 inches long and have been trimmed just below a node. The leaves have been removed from the bottom half of each cutting.

- Image 2: A terracotta pot filled with water and hydrangea cuttings. The cuttings are arranged in the pot so that they are not touching each other. The pot is placed in a sunny spot.
- Image 3: A glass vase filled with water and hydrangea cuttings. The cuttings are floating in the water. The vase is placed in a bright, indirect light location.

- Image 4: A clear plastic cup filled with water and hydrangea cuttings. The cuttings are placed in the cup so that the bottom half is submerged in the water. The cup is placed in a warm, sunny spot.
- Image 5: A group of hydrangea cuttings rooting in water. The cuttings are in a variety of stages of rooting. Some of the cuttings have already developed roots, while others are just starting to root.
Post a Comment for "How To Grow Your Own Hydrangeas With Just A Glass Of Water"